How to Break Down Complex Problems into Manageable Tasks
Learn to nibble away at complex or complicated problems instead of trying to swallow them whole

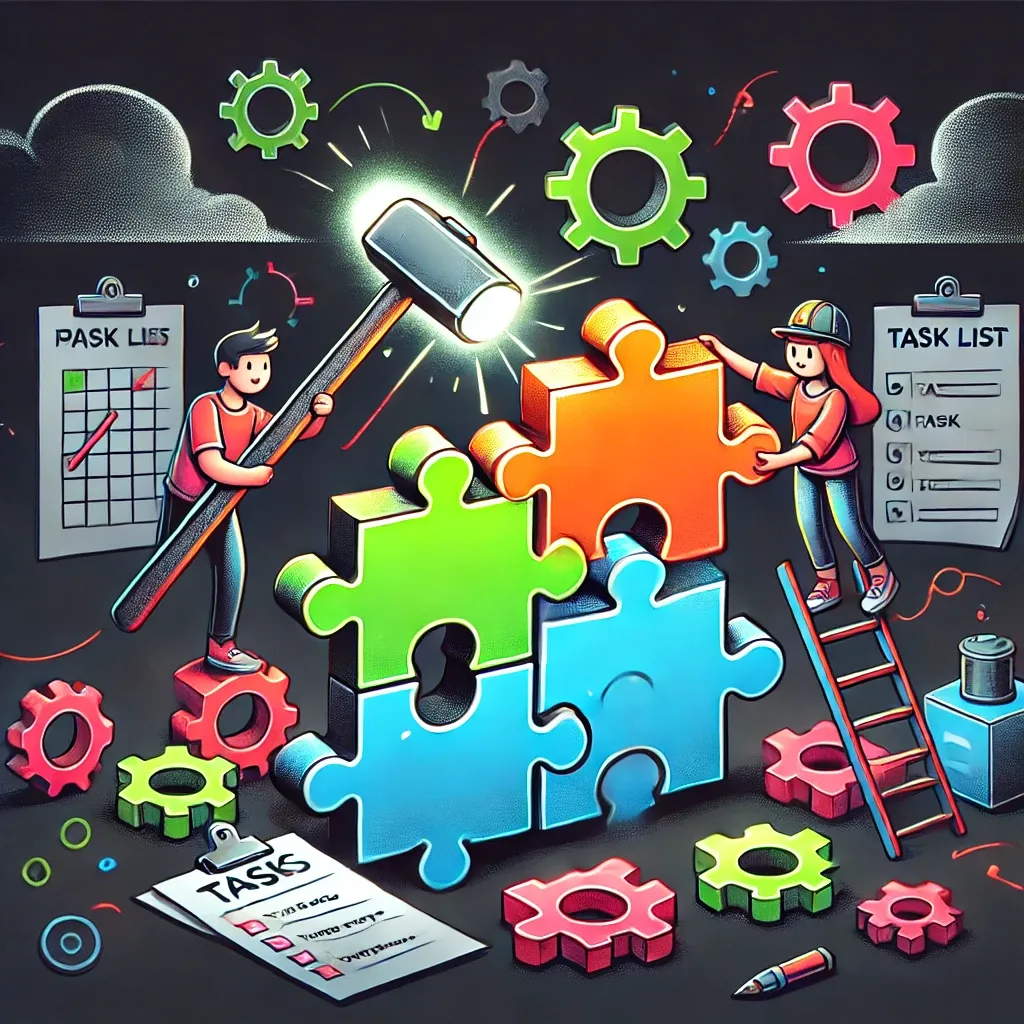
When faced with a complex problem, it is easy to feel overwhelmed. Breaking down that problem into smaller steps can make a difference, making challenges easier to handle. It is like slicing a big project into smaller pieces that you can work with. Because, let's be real, nobody likes choking on a giant task.
Problem-solving can feel intimidating, especially when dealing with a bug in your code that seems impossible to fix. Breaking the problem into smaller tasks can help you find a way forward and make everything feel more achievable. No magic wand required.
Why Break It Down?
Why bother breaking down problems? Imagine your Product Manager drops a feature request on your desk, only to find out it needs to integrate with four outdated systems. Suddenly, this "simple" task feels like a big problem. By breaking it down, you can get a clear picture of what needs to be done. Plus, it's harder to cry in frustration when you're just tackling one small step at a time.
For example, a software team working on a multi-platform integration broke the project into smaller tasks, like setting up backend services, designing the user interface, and integrating third-party APIs. This approach helped them manage the project and identify issues before they turned into bigger problems. Think of it as catching a leaky faucet before it turns into a flooded basement.
It is like eating a pizza—you would not try to eat the whole thing at once. Instead, you slice it into smaller pieces. The same goes for complex problems: breaking them into smaller chunks makes them easier to handle. And a lot less messy.
Step 1: Identify the Problem
Before solving the problem, know what it is. Is it a feature request that involves multiple systems? Or maybe it is a bug that pops up right before the weekend (because of course it does).
To understand the problem, use methods like the '5 Whys' to dig down to the root cause or mind mapping to visualize the different parts of the issue. This helps you look beyond the surface and figure out what is really going on. Because, spoiler alert: the real problem is usually hiding behind something else.
Write everything down—get those thoughts out of your head and onto paper (or a digital note). This makes it easier to see what you are dealing with and plan your next steps. Plus, it means you won't forget half of it when you inevitably get distracted by a random Slack message.
Step 2: Brainstorm Solutions
Once you have identified the problem, brainstorm possible solutions. Write down all the ideas that come to mind, even if they seem unrealistic at first. Sometimes, an unusual idea can lead to a simple solution. And sometimes it leads to laughter—both are useful.
Step 3: Prioritize Your Solutions
Now that you have a list of potential solutions, figure out which ones to tackle first. Use an Impact vs. Effort matrix. High impact with low effort? That is your priority. Low impact with high effort? It can wait (forever, if possible).
Here is an example of how to organize your solutions:
| Impact / Effort | Low Effort | Medium Effort | High Effort |
|---|---|---|---|
| High Impact | Task A (Do First) | Task B (Plan Carefully) | Task C (Worth Effort) |
| Medium Impact | Task D (Quick Win) | Task E (Manage) | Task F (Reevaluate) |
| Low Impact | Task G (Consider Later) | Task H (If Time Allows) | Task I (Avoid) |
This matrix helps you decide where to focus your energy first and what can wait. If you want more details, check out our guide on effective problem-solving steps. Because who doesn't love a good matrix?

Step 4: Break It Down into Tasks
Now comes the part where you break the solution into tasks. Let’s say you need to develop a feature for an app. Instead of treating it as one big task, break it down like this:
- Define Requirements: Gather input from stakeholders to understand what the feature should do. Yes, this means talking to people.
- Research and Planning: Look at similar features and find potential tools or frameworks. Basically, steal ideas—but ethically.
- Set Up the Environment: Get all the tools, libraries, and dependencies needed. AKA, prepare for a dependency rabbit hole.
- Create UI Mockups: Design a sketch of what the feature will look like. Yes, even stick figures count.
- Develop Backend Logic: Write the server-side code that supports the feature. This is where you get to flex those coding muscles.
- Implement Frontend: Build the user interface and connect it to the backend. Make it pretty (or at least not ugly).
- Testing: Do unit and integration testing to make sure everything works. Because if it doesn’t, someone will definitely notice.
- Review and Iterate: Get feedback and make improvements where needed. Rinse and repeat until it's good enough (perfection is a myth).
Breaking it down turns an intimidating task into smaller goals that you can work through step by step. Less scary, more doable.
Step 5: Set Deadlines
Setting deadlines is important. They give you something to aim for and help you stay on track. Work with your team or stakeholders to set realistic deadlines that balance productivity with workload. Unrealistic deadlines? A guaranteed path to caffeine addiction and burnout.
Use time management techniques like the Pomodoro technique (working in intervals with breaks) or time blocking (setting aside specific hours for each task). Just remember: breaks are not optional, unless you enjoy the feeling of brain meltdown.
Step 6: Iterate and Adapt
Great, you have a plan. But things do not always go perfectly. Be ready to adapt as you move through your tasks. For example, in an agile sprint, you might release a first version of a feature and find out from user feedback that something is missing. Surprise, surprise. You will need to adjust your plan and make changes.
Iteration is key. Do not be afraid to make adjustments and keep improving. This aligns with agile practices, which focus on adapting and getting better as you go. If you want to learn more, take a look at our article on trial and error techniques. Because trial and error is not just for your middle school science experiments.
In Conclusion: Problem-Solving
Breaking down complex problems into smaller tasks is an art. It takes strategy and a bit of humor to stay sane. Trust me, without humor, you are in for a rough ride.
The next time you face a problem, remember: break it into smaller pieces, prioritize, and tackle them one at a time. And if you feel stuck, take a break—sometimes the best solutions come when you are not staring at your screen, desperately waiting for inspiration.
Think of a current problem, grab a sticky note, and start breaking it down—your future self will thank you. Or at least not hate you as much.
For more insights on problem-solving, check out our articles on collaborative problem-solving, logical thinking, and creative techniques.


